
This post may contain affiliate links. Please see my disclosure here.
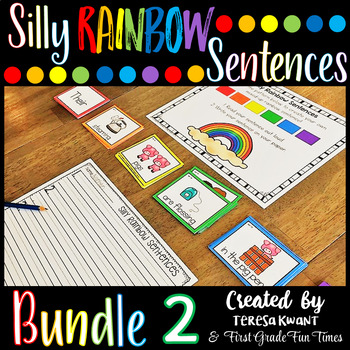
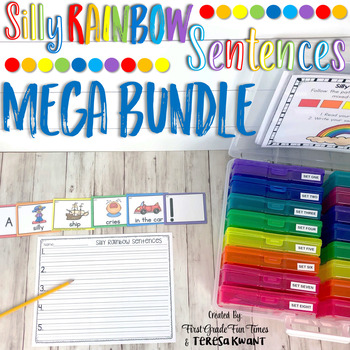
I don’t know about you, but my favorite type of literacy centers (or any center really!) are the ones that are ready to pull out and don’t need time to be set up. Who has time for that when you have 20+ students to teach? Enter: Silly Rainbow Sentences. My friend Alisa over at First Grade Fun Times and I have created this resource that is sure to be your favorite center all year, and your students’ as well. We have worked hard to bring an engaging product to you, that is also affordable. We don’t want you to break the bank in order to have quality resources in your classroom. That is why Alisa and I have teamed up to bring you not one, not two, but THREE Silly Rainbow Sentences bundles. With all these great writing center materials, we also want to help you keep them organized.


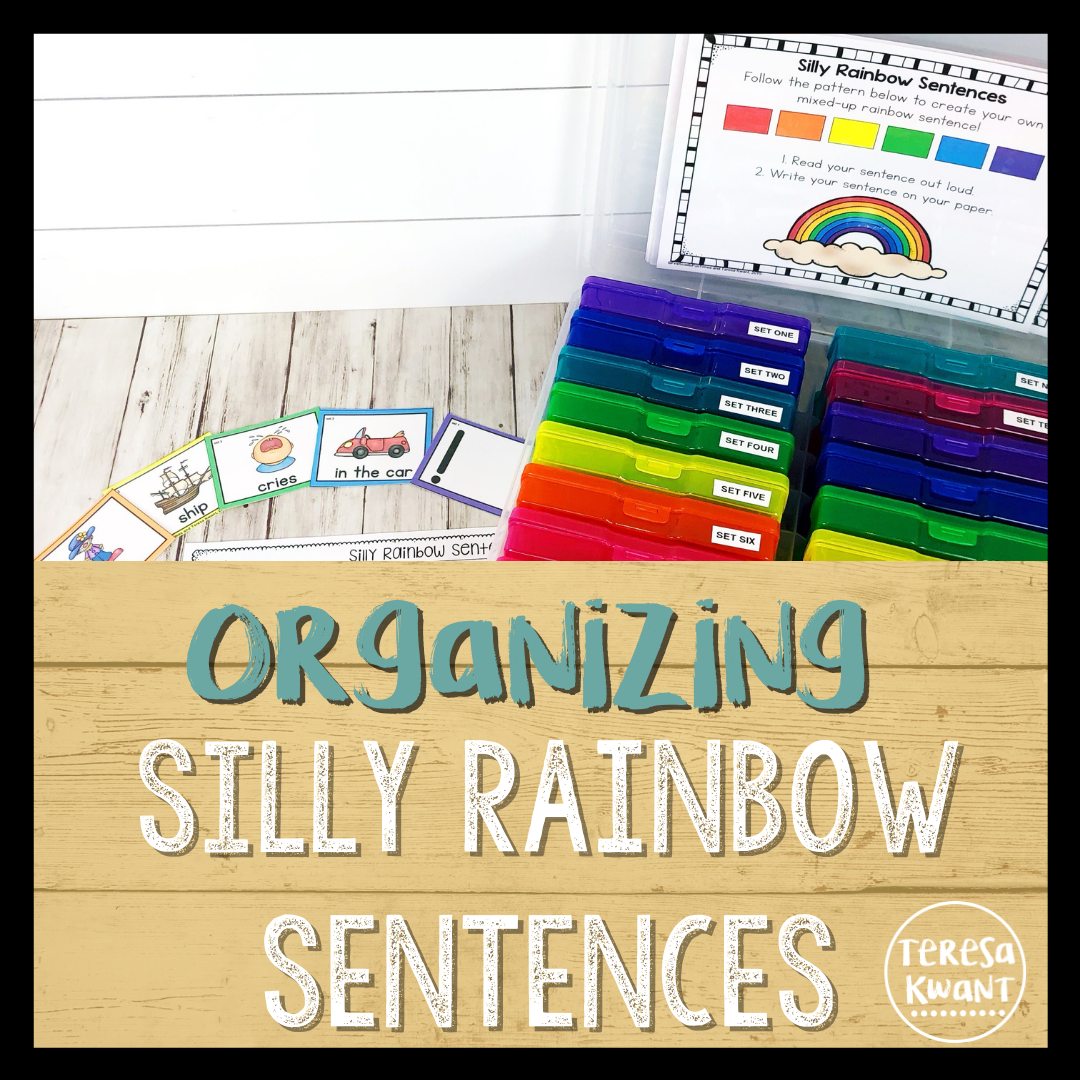
To organize your Silly Rainbow Sentences, I suggest purchasing {this photo container box}. It comes in rainbow, or clear. Since these are Silly RAINBOW Sentences, and because the color boxes are so adorable, I suggest the rainbow box. However, either works great. Each box will hold one COMPLETE bundle of Silly Rainbow Sentences. We have three bundles, so if you own all three, you will need three boxes. I purchased my box at Michael’s, but you can also find them on Amazon {HERE}.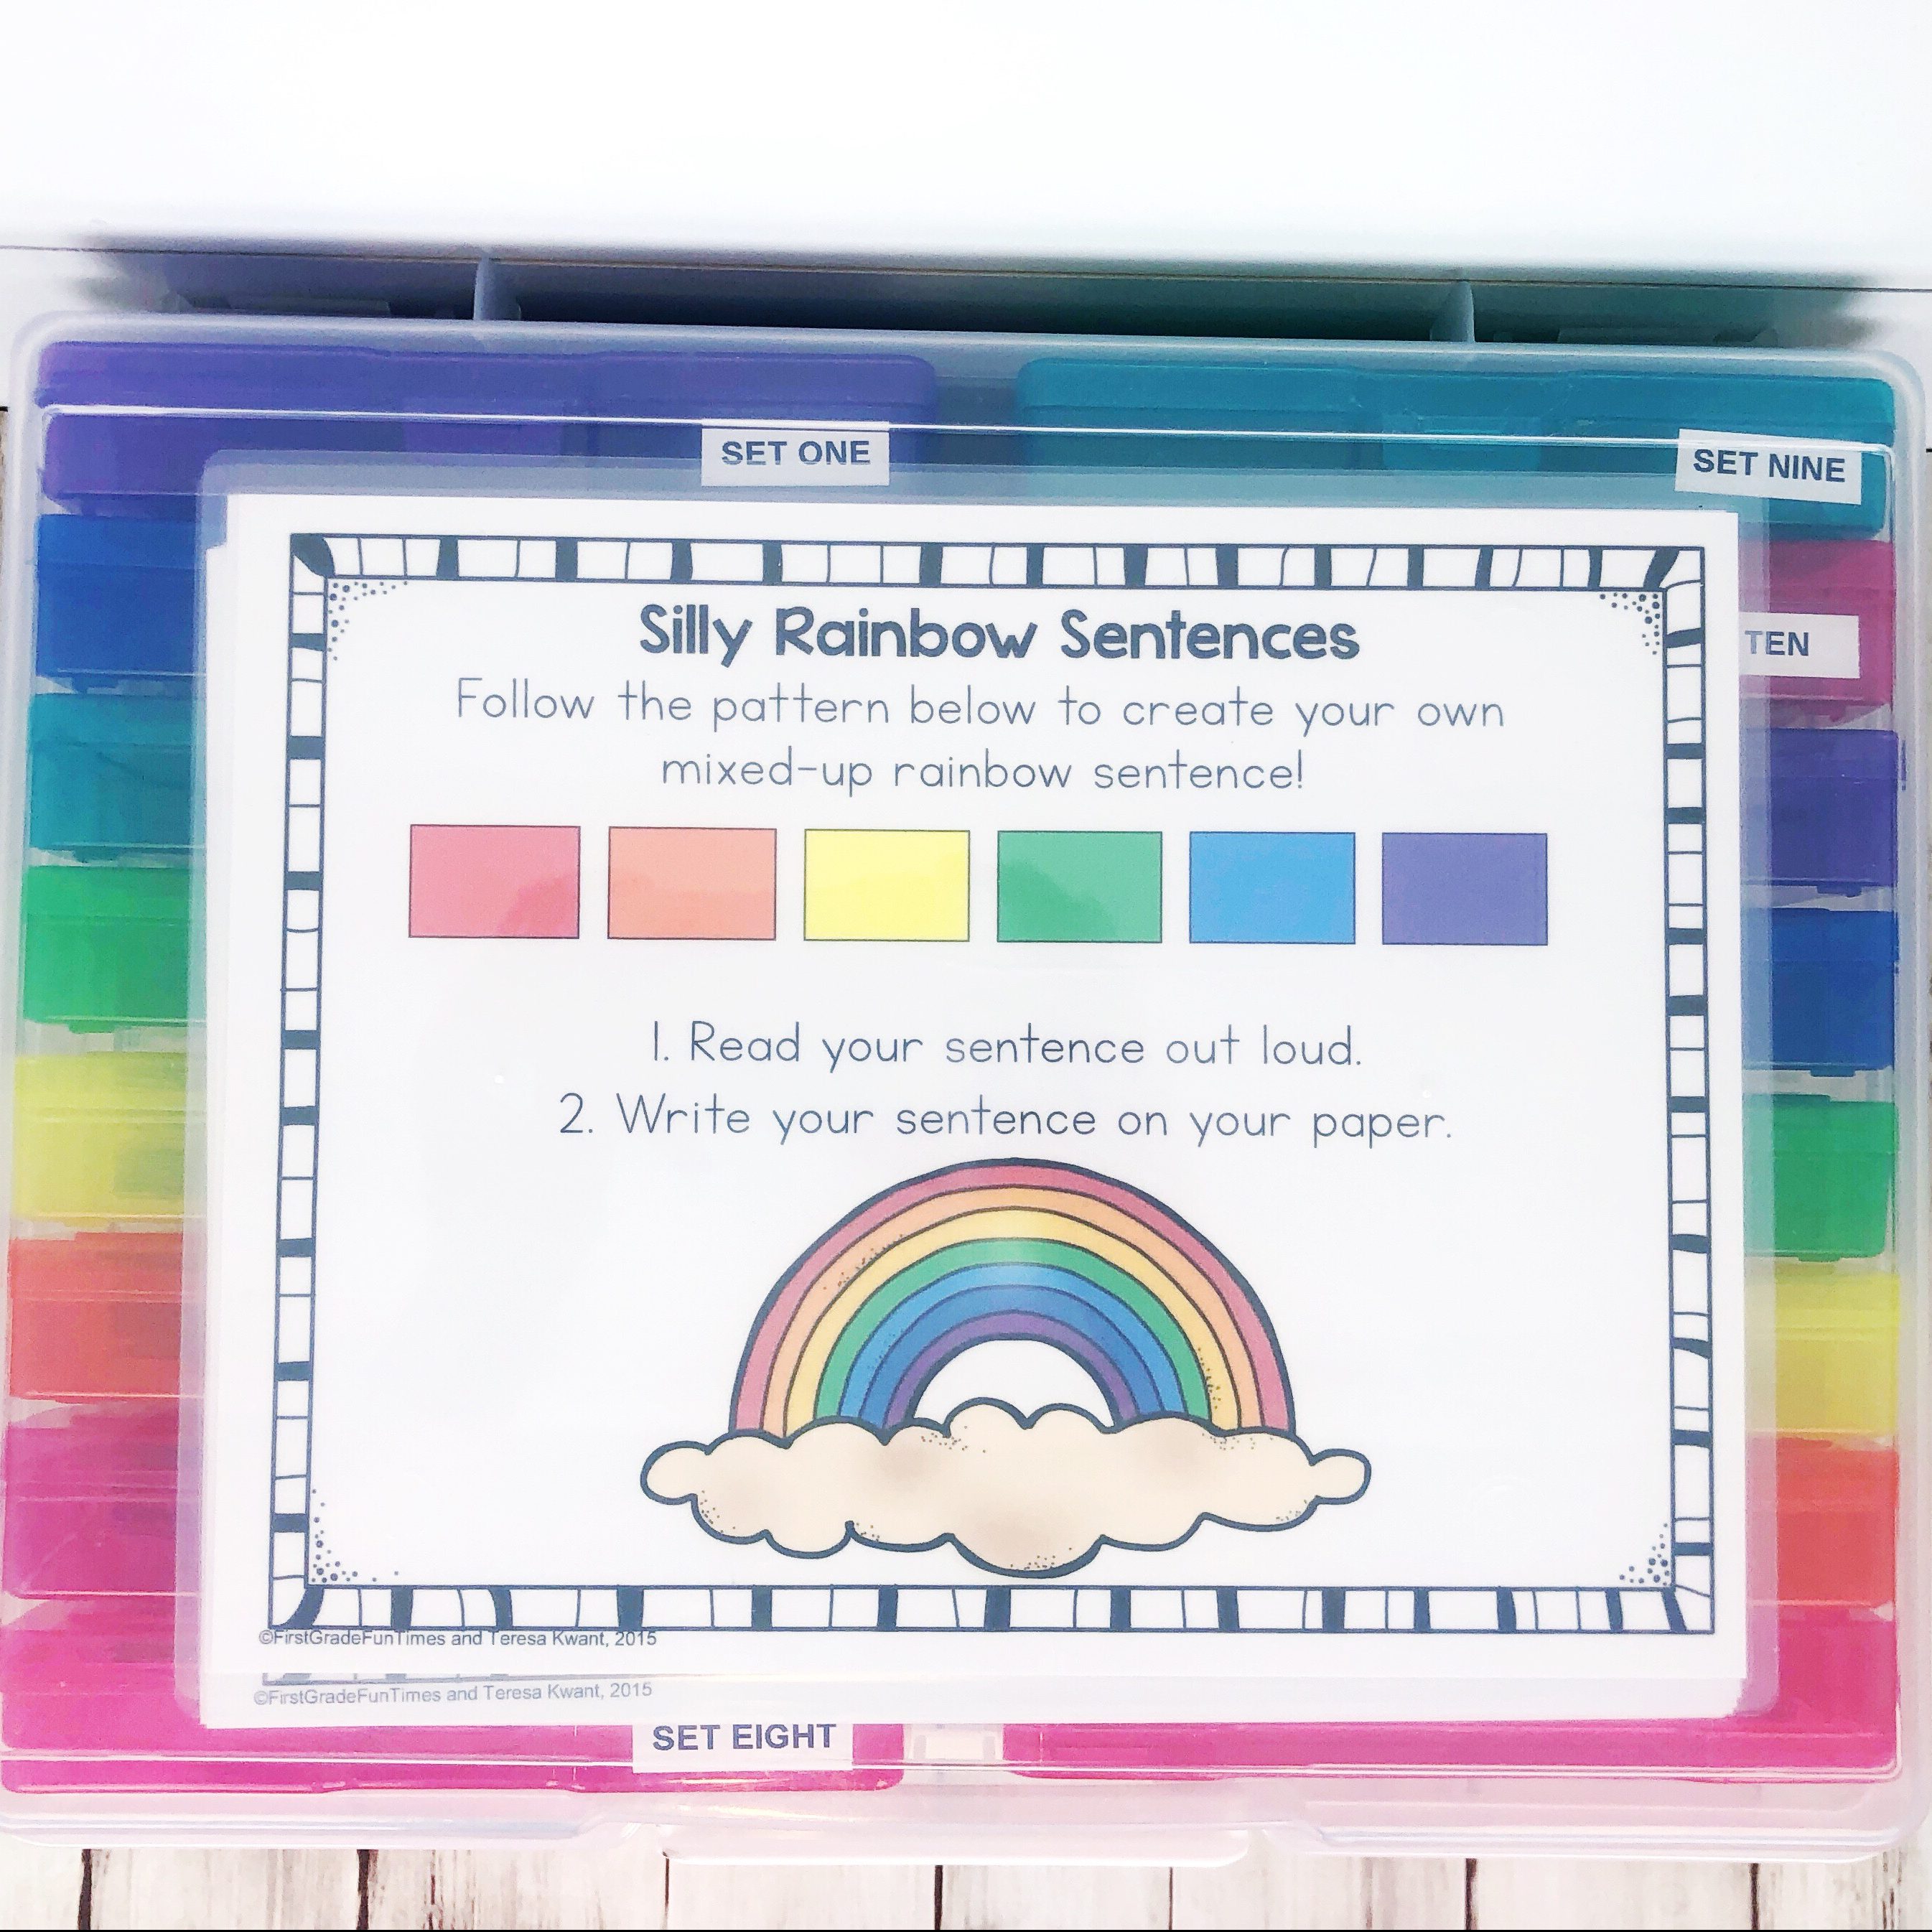
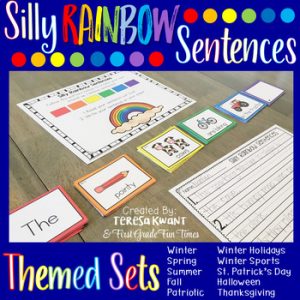
Next, you will want to print the Silly Rainbow Sentences on {white cardstock}. The cardstock will make the cards last longer. I like printing in color since the color is needed for the writing center. However, if you want to save on ink, it works just as well to print each card on corresponding {color cardstock}. So, print the red cards on red paper, orange cards on orange paper, etc. Or, if you have oodles of time to spare ? you can print the black and white versions off and color them yourself.  Once the cards are printed, you will need to laminate them so they last forever! I personally like laminating the whole sheet of paper and then cutting out the card, as opposed to cutting out the cards and laminating each individual card. Who wants to cut out the cards twice, right? Laminating the entire sheet will still make the cards last a LONG time. I used {this Scotch laminator} I found on Amazon, with {these laminating pouches}. Having the option to easily laminate at home makes me actually enjoy laminating. Before home laminators were decently priced, I dreaded laminating at school. I only did one lamination day a year, and if a project missed lamination day—too bad! Now, I laminate ALL THE THINGS. I highly suggest getting a home laminator. Also, if you are interested, {this cutter} worked great for me!
Quick Tip: I only print out ONE set of the red and purple cards. Each set comes with red and purple, but they are exactly the same in each set. You can print all ten sets of red and purple out, but when I detail below how to organize the cards, you will see why that is not necessary. Save some trees, ink and time, and print just one set of red and purple cards.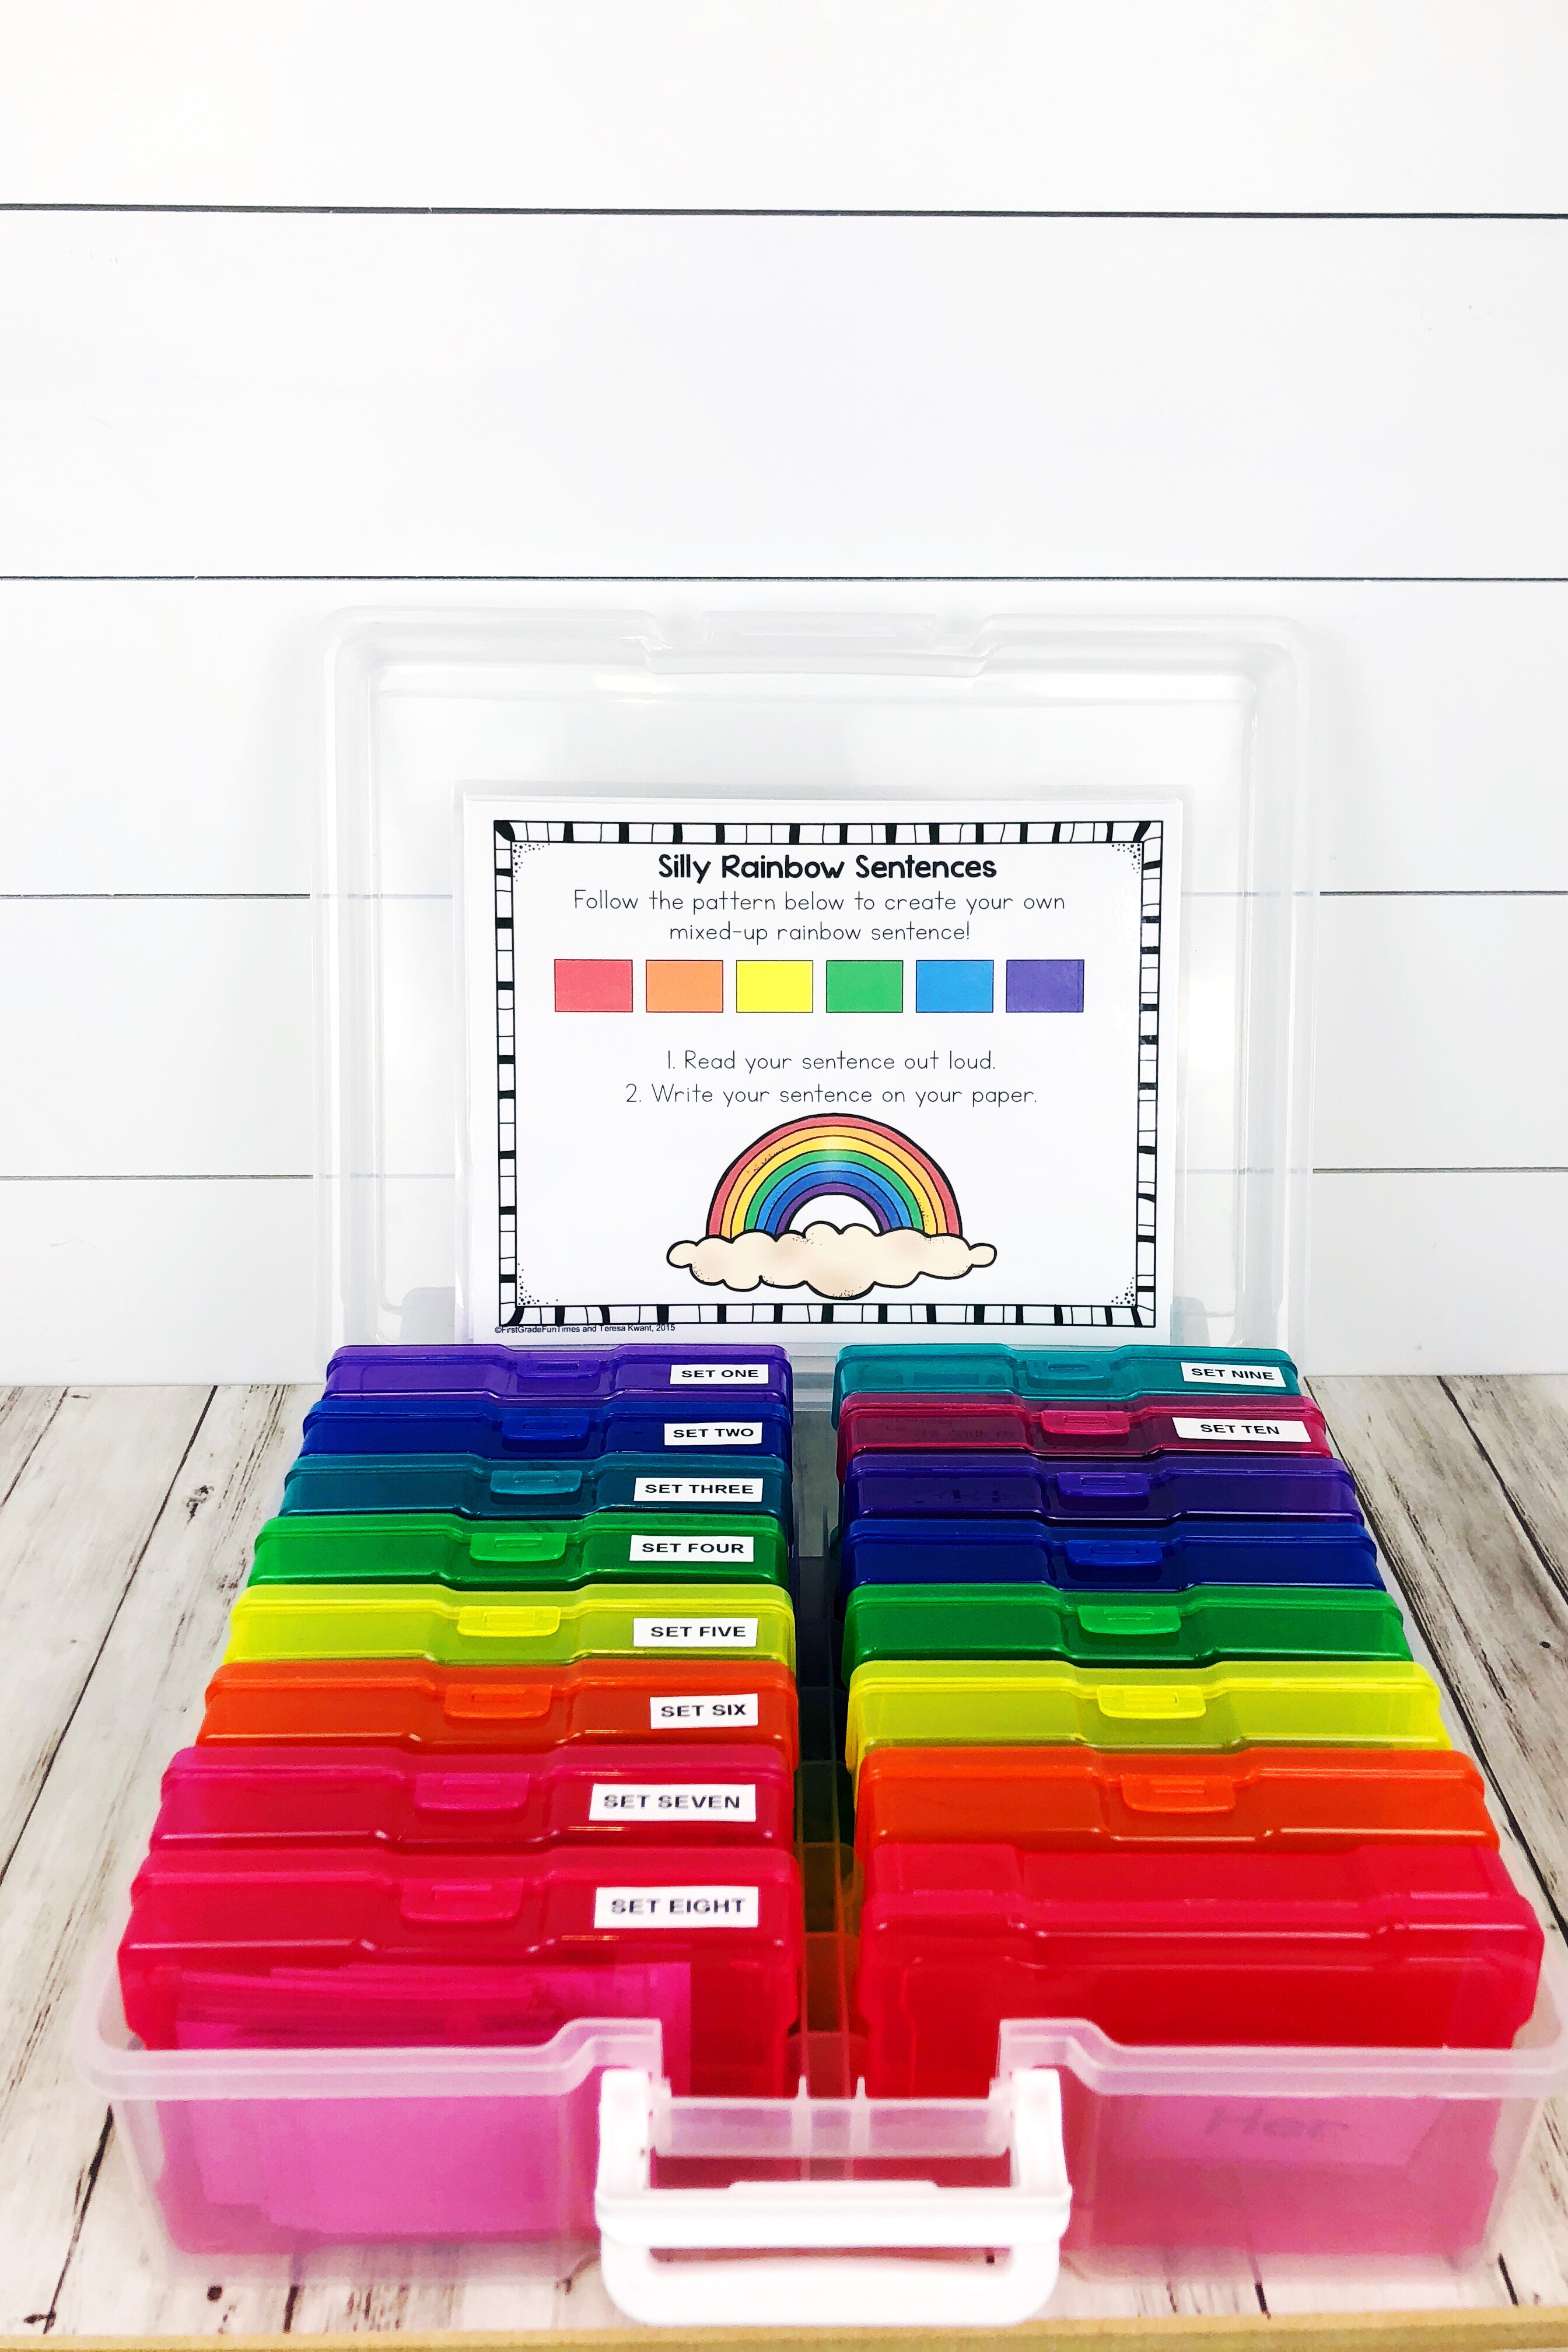 Now, once the cards are all cut out, it will be time to organize them into the cute colored photo boxes. There are 16 colored boxes. Set aside 6 boxes of the following colors: red, orange, yellow, blue, and purple. Then, with your remaining 10 boxes you will put one set inside each box. I used a {label maker} to label each box. The six colored boxes you set aside will remain empty, until it is time for center time. Then, you will pull out the set you are using and put each stack of cards into their corresponding colored box. Remember how I said to only print out one set of red and purple cards? If you want, you can leave the red and purple cards permanently in the red and purple containers.
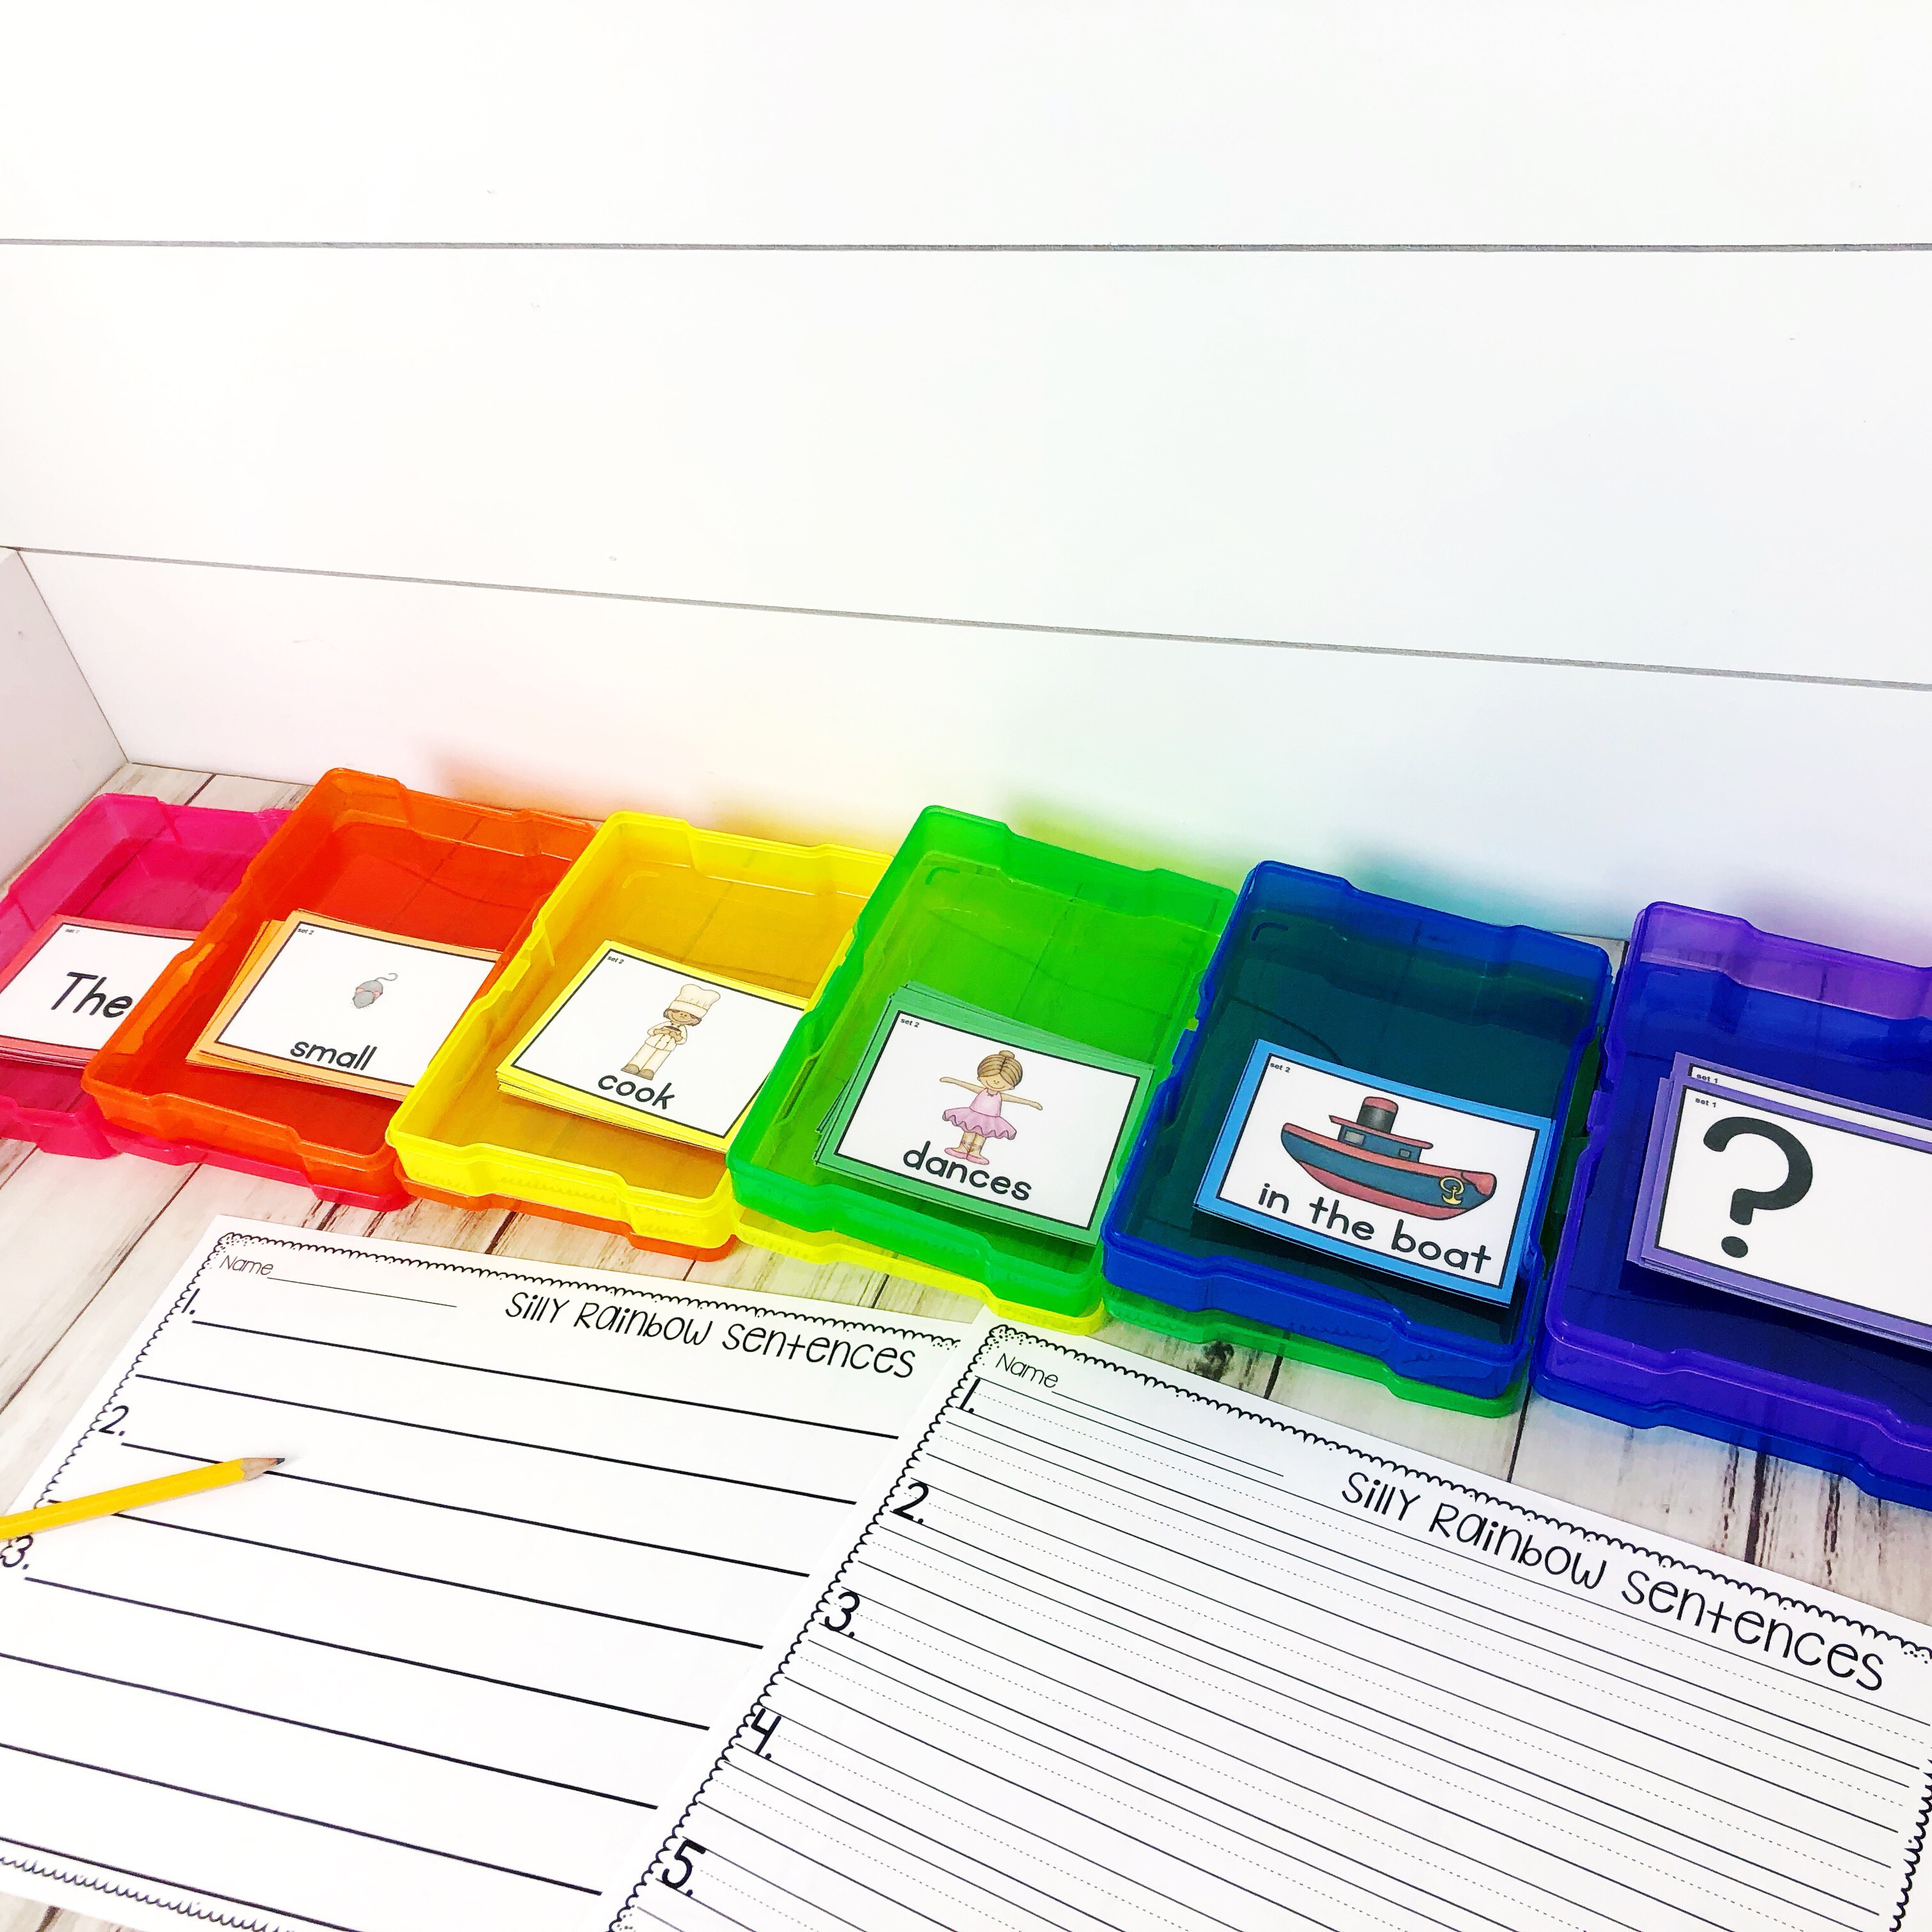
Last, I like to print the instruction card and some extra writing sheets to use for the center, and leave them in the container. This way, when it is time for center time this center is all ready to go. 
That’s it! Organizing your Silly Rainbow Sentences are quite easy, and once they are organized they are ready to go for years to come. Make sure to check out all our Silly Rainbow Sentences in the links below.

2 Responses
My students and I love this resource. I made rainbow cards from construction paper and then glued and laminated it. I provide 4 of these and the worksheet. Instead of the individual boxes, I keep mine in a plastic box with rainbow colored drawers. Each week I take out 8 of each ( 2 for each day) and the kids will grab one of each and take it to their desks to read , write and draw their sentences. I have aquestion, will you be adding adverbs? We cover them in our curriculum. Thanks for your time.
Hi Beth!
That sounds like a great organization method you have! I am so glad you and your students enjoy these.
Some of our sets do have adverbs! Make sure to check them all out. Links are in this blog post.