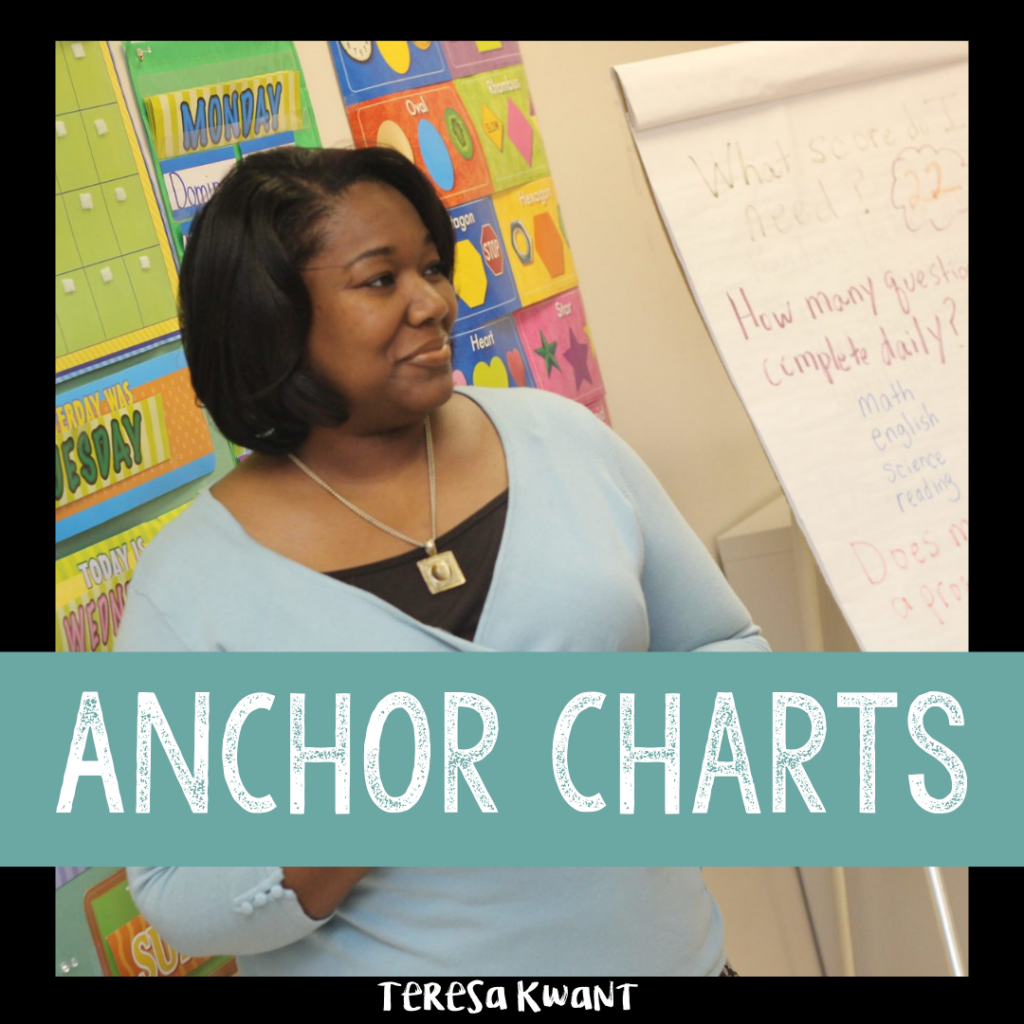
Anchor Charts: a staple in our classrooms, but maybe not a favorite. They take time, they take effort, and to be useful, they take intentional planning. Maybe all those benefits make them worth the work! As a teacher who LOVES anchor charts, I thought it might be worthwhile to share what makes them so great!
My anchor chart journey began with huge chart paper, attached to an even more enormous easel. I had just started my first year of teaching, and my placement was in first grade. I made a chart for almost every subject, every day, and to be honest, it was a lot of work, with little reward. I felt like I was designing posters to adorn the walls more than I was using the charts for true instruction. That’s when I started looking into other ways to approach and use anchor charts.
After all the research and reflection, I found that the things I learned were all helpful, but I wanted to make anchor chart creation even more intentional and purposeful in my classroom. First, I realized that that huge chart paper was not my friend, and ditched it, along with my enormous easel. Now that I was several years into my teaching career and had moved from first to third grade, I realized that space was a commodity I just could not give up for an easel. Instead, I began making my anchor charts on white cardstock paper, 8 ½ x 11 in, the standard letter size. I found that displaying these charts on my screen made the creation easier for myself, and the visibility better for my students. I was able to manipulate or add to my charts while I taught my lessons, without turning my back to record thinking on an enormous easel chart page.
I also am now able to display many more key anchor charts on my subject-organized bulletin boards. With the large chart paper, I scarcely had room to display the work I felt my students needed to see.
I make sure that each chart has a clear and strong purpose. It should
truly teach! When creating, I ask myself, What is the purpose? What do I want students to learn from this? How can I design this chart with that learning in mind? What process and I going to make visible using this page?
To get myself started, I love simply going to google and typing in “anchor chart” along with key words of what I am looking for, using the images tab. Many options come up. I typically screen shot the ideas I like, then take the pieces I find important from each, add in my key points, and create my own version that fits my lesson and student needs.
Another great thing about small charts is that I can save them from year to year. I put them in slip covers inside my unit-organized 3-ring binders. I don’t have to remake them (the reference ones at least). Trying to store and re-use large paper anchor charts is quite a chore and trying to find them for use the next year is nearly impossible (I tried!) You can even use collaborative charts again by including sticky notes. Many of my charts have the key information on the page itself, but when students add ideas, I write them on sticky notes and adhere them directly to the chart, so by removing the post-its, the chart is ready to support its next group of learners.
Yes, but when does the falling in love begin? Honestly, after all I learned from research, others and my own experience, I finally fell in love with what anchor charts have the potential to do and be. They make learning visual. They demonstrate thinking processes that are otherwise very abstract and confusing for students. They can be colorful, creative and engaging for learners. They show instead of just tell. They offer students ownership over their learning, as they are co-creators of the charts. They document the progression of learning and thinking students accomplish. You may not love them, like them, or even tolerate them. But, if you truly give them an intentional try, I believe you too will see the purpose and potential anchor charts can bring to your instruction.
Signing Off,
Beth Olsen, 3rd Grade Teacher